
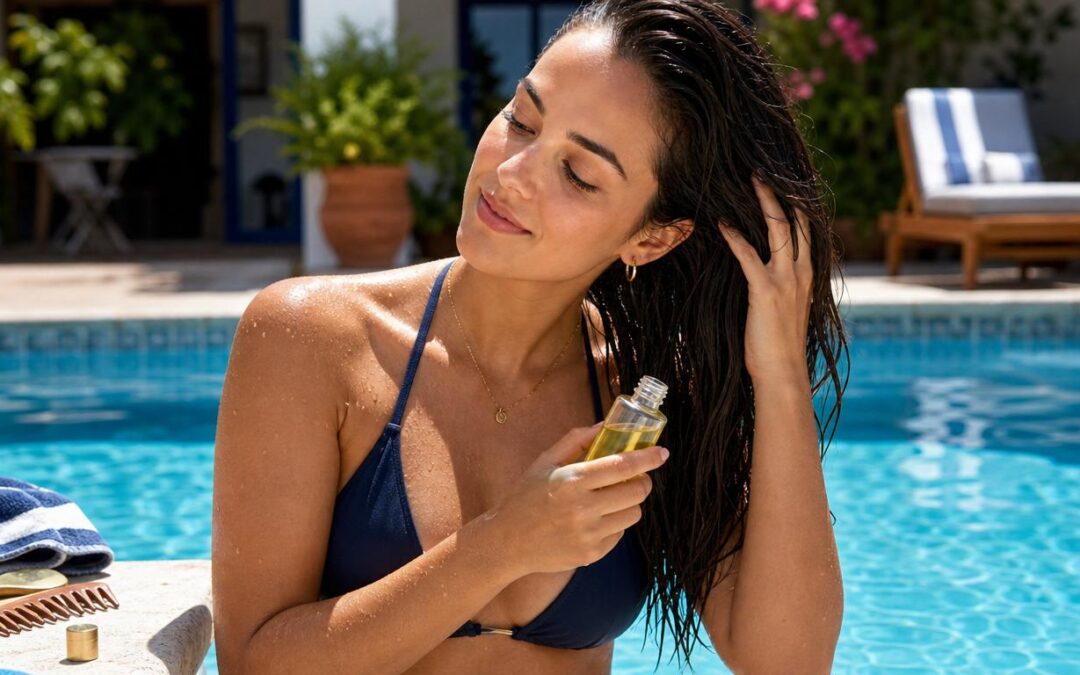
Every September I have the same reckoning with my hairbrush. The tan is fading, the pool bag is finally put away, and my hair is sitting there pale, crunchy, and snapping at the ends like it’s holding a grudge about the whole summer. The first year it happened I genuinely thought I’d have to chop it all off. I didn’t — and I haven’t had to since, because I worked out a simple end-of-summer repair routine that brings it back every time. Here’s exactly what I do.
Three months of UV, pool chemicals, and salty water take a real toll, pulling out moisture and roughing up the cuticle until your hair feels like straw. The reassuring part is that most of it is fixable at home in about two weeks, no salon emergency required. Below is the step-by-step plan I follow, including the cheap kitchen mask I lean on when my ends are at their worst.
What Summer Actually Does to Your Hair
Before fixing it, it helps to know what you’re undoing, because each kind of damage has a slightly different fix. The sun’s UV rays break down the protein bonds and natural pigment inside the strand, leaving it weak, brittle, and faded. Chlorine strips protective oils and can bind to the hair, causing that dry, squeaky, crunchy texture. Salt water is intensely dehydrating, drawing moisture out and lifting the cuticle. Pile heat styling on top and you compound every bit of it. Once I understood which villain did what, choosing the right treatment stopped being guesswork.
First, Figure Out What Your Hair Actually Needs
Summer hair generally suffers in two ways: moisture loss (dry, dull, brittle, frizzy) and protein or structural loss (limp, mushy when wet, stretchy, breaking). Most sun-and-pool damage is mainly thirst, so hydration is usually the priority — but if your hair feels weak and over-stretched, it needs a protein boost too. Getting the balance right is the whole secret to a full recovery, and it’s where I used to go wrong by just slathering on more oil.
Here’s the quick test I do at the sink: take one wet strand and gently stretch it. If it stretches a long way and doesn’t spring back, it’s begging for protein. If it feels rough, barely stretches, and snaps fast, it’s craving moisture. Mine is almost always moisture-first after summer, but doing this ten-second check stops me wasting money on products my hair doesn’t need that week.
Step 1: Clarify to Start From a Clean Slate
Months of product, chlorine, salt, and mineral buildup form an invisible coating that physically blocks treatments from soaking in. So I start the whole rescue with one wash using a gentle clarifying or chelating shampoo to lift the gunk. This step matters most for chlorine and the copper residue that turns light hair brassy or faintly green — no mask will work properly until that film is gone.
The key word is one. A single clarifying wash resets things; doing it repeatedly strips the very oils you’re trying to rebuild. I always follow it straight away with the deep conditioning below so my hair never gets the chance to feel stripped or squeaky.
Step 2: Flood It With Moisture
This is the heart of the recovery, and the step that visibly brings crispy strands back to soft, touchable life. Honestly, consistency here matters far more than how fancy your products are.
- Deep condition twice a week with a rich hydrating mask, concentrating on the mid-lengths and ends where damage gathers.
- Do a pre-wash oil treatment. Massage argan or coconut oil through your ends and leave it on for an hour, or overnight, before you shampoo.
- Add a leave-in conditioner at every wash to hold moisture in between the bigger treatments.
- Seal with a few drops of serum or oil on damp ends to smooth the cuticle and bring back shine.
My favorite trick: apply the mask to damp hair, tuck it under a shower cap, and let my body heat work for fifteen minutes while I potter about. The gentle warmth lifts the cuticle just enough for the moisture to sink in deeper, and on really sun-fried hair the difference is obvious by the time I rinse.
My Go-To DIY Repair Mask (When My Ends Are Really Bad)
When my hair is at its worst, I skip the shop and make this. It costs almost nothing and it’s saved my ends more than once.
- Ingredients: 1 ripe avocado, 1 tablespoon honey, 2 tablespoons plain full-fat yogurt, 1 tablespoon olive or argan oil.
- Step 1: Mash the avocado completely smooth — any lumps are a nightmare to rinse out, so I use a fork and a little patience.
- Step 2: Stir in the honey, yogurt, and oil until it’s a smooth, spreadable paste.
- Step 3: Apply to clean, damp hair from the ears down, never the roots, concentrating on the ends.
- Step 4: Cover with a shower cap and leave for 20–30 minutes, then rinse with cool water and shampoo lightly.
Pro tip: the avocado and oil deliver moisture and fatty acids while the yogurt adds a touch of gentle protein, so this one quietly does double duty. Use it once a week at most — it’s rich, and more isn’t better.
Damaged hair is thirsty hair. Give it consistent moisture for two weeks and you’ll be surprised how fast the softness and shine come back.
Step 3: Rebuild Strength With Protein
If your hair feels weak, stretchy, or snaps easily, it needs protein to rebuild its structure. A protein or bond-building treatment once a week (or every other week) reinforces the strand and cuts down breakage. The catch is balance: too much protein turns hair stiff and brittle, while endless moisture with no protein leaves it mushy. I alternate hydrating and strengthening treatments and let my hair tell me what it wants.
If you’re unsure, start with moisture, add a single protein treatment, and notice what happens. Hair that suddenly feels stronger and bouncier loved it; hair that feels stiff or straw-like has had enough and wants moisture back. That back-and-forth listening really is the entire art of repair — it took me a couple of summers to trust it.
Step 4: Trim the Truly Fried Ends
Here’s the part nobody wants to hear: split ends can’t be glued back together, no matter what the bottle promises. If your ends are badly frayed and breaking, a small trim is the fastest way to make your whole head look and feel healthier instantly. You don’t have to sacrifice your length — even a half-inch dusting clears the worst damage and stops splits from creeping up the strand, which would cost you far more length later. I think of it as clearing the runway for healthy autumn growth.
Step 5: Protect It Going Forward
Once your hair is restored, guard that effort so you’re not back here next September. A few easy habits do most of the work:
- Ease off heat styling while your hair recovers, and never skip the heat protectant.
- Keep the weekly mask going even after your hair feels better — maintenance is so much easier than rescue.
- Rinse cool and sleep on silk to seal the cuticle and cut overnight friction.
- Shield against UV on the last warm days with a hat or a UV-protectant spray.
- Rinse before and after swimming so chlorine never gets the chance to settle back in.
Ingredients That Speed Up Recovery
When you’re buying repair products, the ingredient list tells you more than the front label. Reach for shea butter, argan, and coconut oil to deeply moisturise and seal; hydrolysed keratin and bond-builders to rebuild strength; glycerin and hyaluronic acid to pull moisture in; and panthenol for softness and shine. Steer clear of harsh sulfates and heavy drying alcohols while you’re repairing, since they can quietly undo your progress. A small, moisture-focused lineup beats a cabinet of mismatched bottles every single time.
The Mistakes That Quietly Sabotage Recovery
Even with the best intentions, a few habits stall progress. Piling on too much product weighs hair down without truly hydrating it. Skipping conditioner after clarifying leaves hair stripped. Using protein at every wash makes hair brittle. Brushing roughly when wet causes the exact breakage you’re trying to heal. And expecting overnight results makes people quit right before the payoff arrives. This is a two-to-three-week project, not a one-wash miracle — gentle consistency is what wins.
My Simple 2-Week Recovery Schedule
Want it all in one plan? Here’s the rhythm I follow: begin with one clarifying wash. Then deep condition twice a week, add a protein or bond treatment once a week, use a leave-in and a little oil at every wash, and book a quick trim if your ends need it. Keep heat to a minimum and sleep on silk. By the end of the fortnight my hair is dramatically softer, stronger, and shinier — ready for the cooler months.
The Takeaway
A summer of sun and swimming doesn’t have to leave your hair wrecked for good. Clarify once, flood it with moisture, rebuild with a little protein, trim the worst ends, and protect what’s left — that simple order is all it really takes, and you can do every step at home.
Give your strands two weeks of steady attention and you’ll head into fall with hair that’s soft, shiny, and strong again. Mine makes the same comeback every year now, and yours can too.